
How to Upload Data to TorqLab: A Complete Walkthrough
Isometric strength testing is a cornerstone of objective assessment in rehabilitation and sport science — but getting from raw data collection to meaningful analysis can feel clunky if you don't have a clear workflow. In this guide, we'll walk through the entire process: setting up a custom session in the Tindeq app, exporting your data, and uploading it to TorqLab for analysis.
Step 1: Set Up a Custom Session in the Tindeq App
Open the Tindeq app and navigate to the Custom Session tab. Here, you'll configure your testing parameters:
Contraction duration: 5–10 seconds per repetition
Limbs tested: Both left and right leg
Rest time: Approximately 30 seconds — this is the time the patient uses to switch between legs
Once your parameters are set, run the session and collect your data.
Step 2: Export the Session Data
After the session is complete, navigate back to the session in the app and tap the three-dot menu (the three circles in the top right corner of the screen). Select Export.
From your phone, save the exported file to an accessible location — this could be OneDrive, Google Drive, or any other cloud drive linked to your device.
Locating the Raw Data
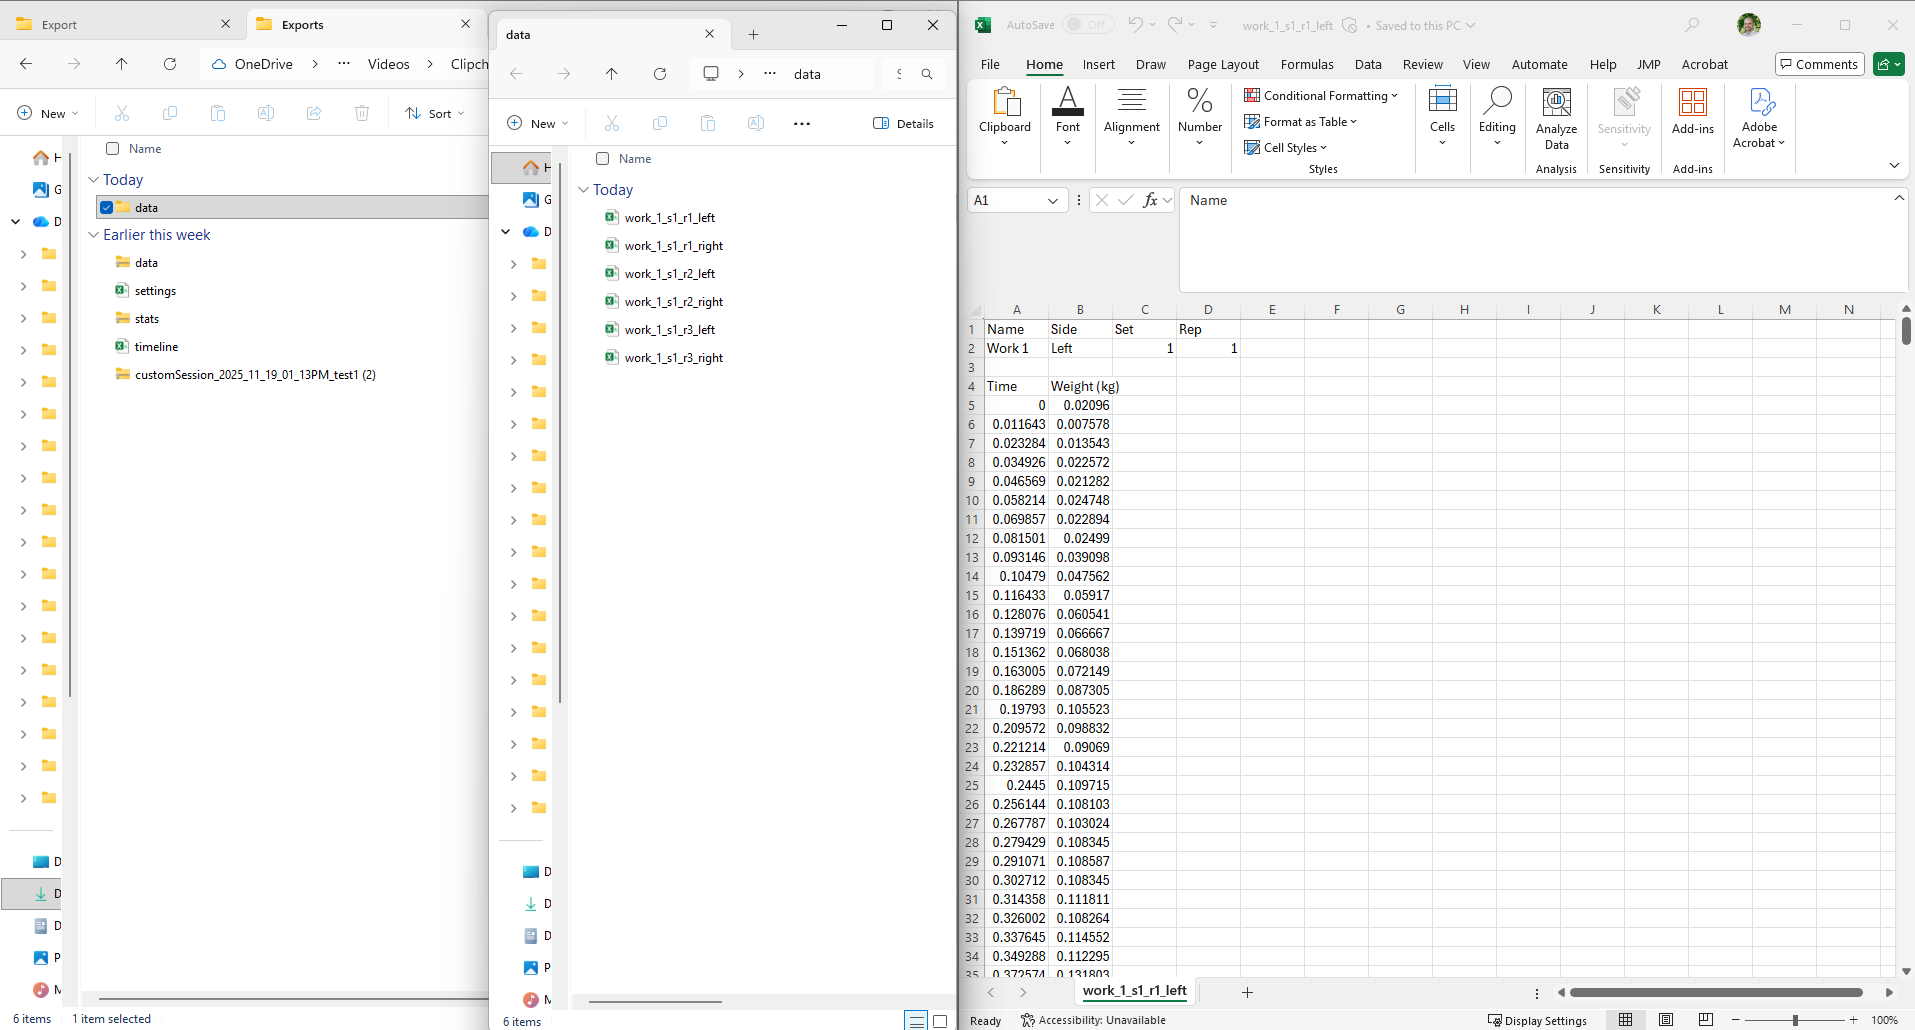
Navigate to the exported file on your phone, laptop, or desktop and unzip it.
Inside the unzipped folder, you'll find a data folder containing the raw data files from the testing session you just completed.
Step 3: Upload to TorqLab
Head to TheTorqLab.com and open the relevant patient profile. Navigate to the Upload tab and configure the following settings:
Device: Tindeq
Unit of measure: Kilograms
Sampling rate: 80 Hz
Patient height: Confirm (this should auto-pull from the patient profile)
Data type: Time-Force array (as opposed to force-only, torque-only, or time-torque) or choose custom
Creating Buckets
Before uploading files, you'll need to create buckets. Buckets are how TorqLab organizes and labels your data. Each bucket captures three things:
Side — right or left
Joint — knee, ankle, hip, etc.
Action — flexion, extension, etc.
You can also mark each entry as injured or uninjured. Create the same number of buckets as the number of distinct tests you performed. In this example, we set up two buckets: right knee extension and left knee extension.
Uploading the Files
Once your buckets are created, drag and drop the corresponding raw data files into the upload dropbox.
Troubleshooting: Custom File Format
If you receive an error message indicating the file doesn't have the expected number of columns, don't worry — just click "Use Custom Format."
This will open a preview of one of your data files. From there:
Select the column header that corresponds to time
Select the column header that corresponds to force
Give the custom format a name (e.g., "Tindeq")
Click OK
Drag and drop your files, and you're good to go. The custom format will be saved for future uploads, so you only need to do this once.
Wrapping Up
That's the full pipeline — from Tindeq data collection to TorqLab analysis. Once your data is uploaded, TorqLab handles the rest: normalizing, visualizing, and comparing your isometric strength data across limbs and over time.
If you have questions about this workflow or want to share how you're using TorqLab in your clinic or lab, feel free to reach out. We're always looking to improve the platform based on how clinicians and researchers are actually using it.